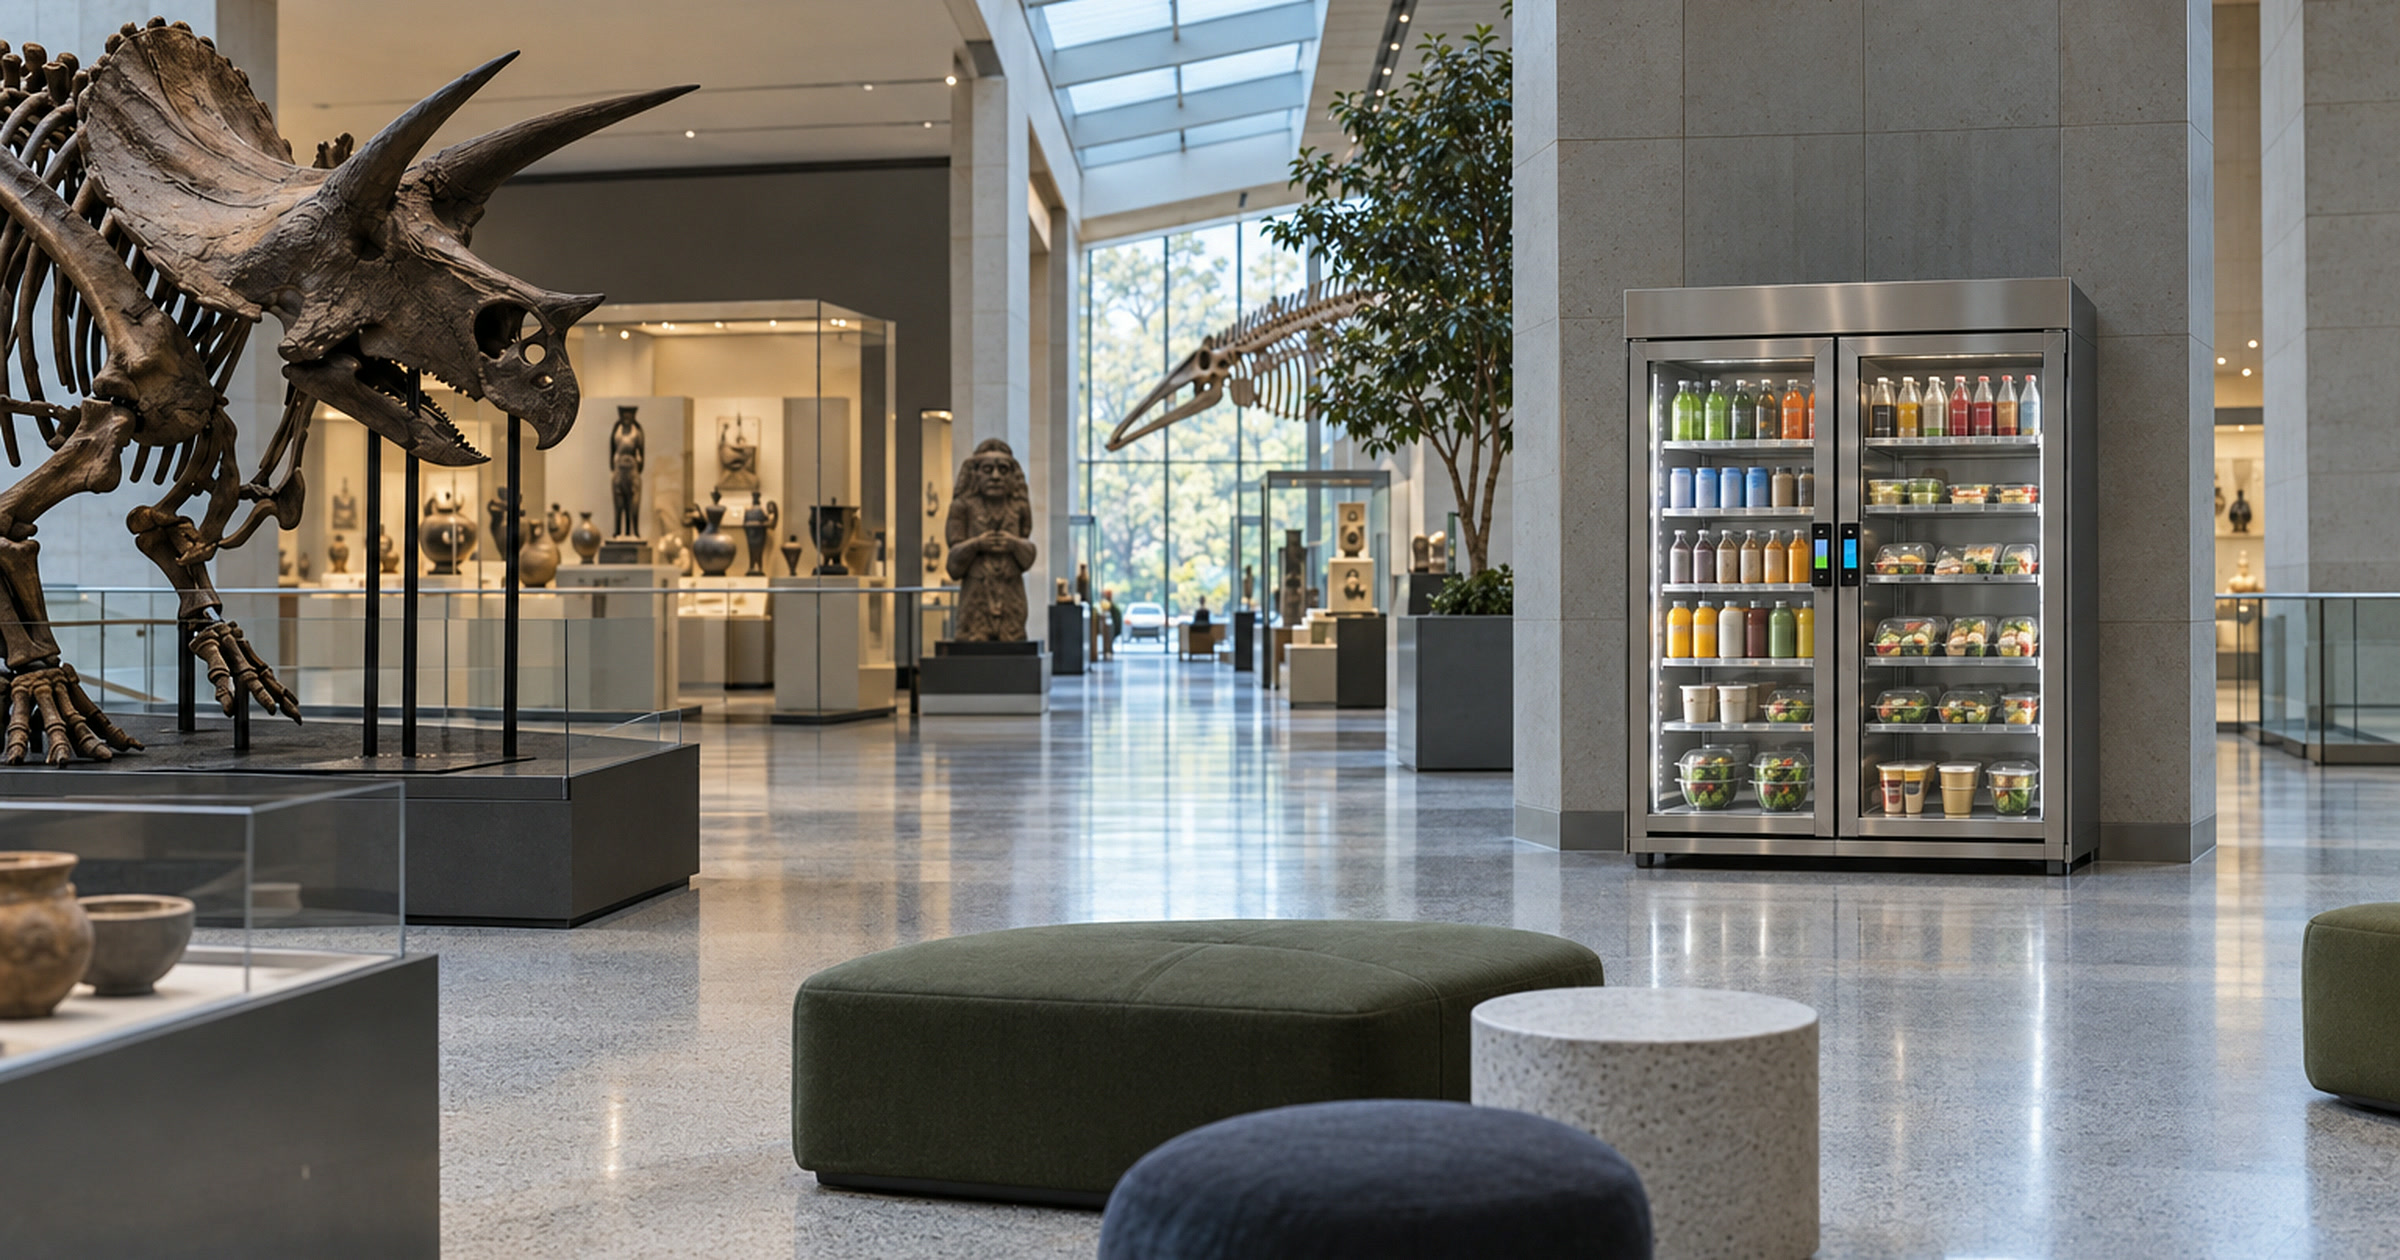
Museum gift shops already have a job: help visitors browse and check out merchandise. A museum smart cooler can cover a different job nearby by giving people a quick food and drink option without sending every purchase through the shop counter.
The distinction matters. This is not a substitute for a cafe. It is a focused overflow setup for the moment when someone wants a drink or packaged snack near the end of a visit.
Put self-service at the retail edge
The best location may be just outside the retail area or along its outer edge, where the unit is visible without competing with merchandise. That keeps the counter focused on purchases and gives the cooler a distinct identity as self-service food access.
The U.S. Department of Justice museum accessibility guidance makes a useful, specific point: museum shops must keep merchandise from spilling into aisles and narrowing the accessible route. It also says lowered sales counters must remain clear. That guidance is not a vending-placement certification. It supports a practical rule: do not squeeze a cooler into the shop simply because an outlet is available.
Walk the area during a normal visitor period. Check the approach to the unit, the space in front of the door, and the route used to restock it. If the cooler creates a pinch point between displays and checkout, choose another spot.
Separate refreshments from merchandise checkout
A cashless cooler lets a visitor complete a refreshment purchase at the unit. Your retail team should not have to scan the item, make change, or explain a separate inventory system.
That operating line should be clear before launch. For qualified locations, we manage the unit from stocking through upkeep. Your team gets one contact route instead of a new retail category to manage behind the counter. Our vending machine service guide explains that ownership in more detail.
The strongest setup is quiet. Visitors can see how to buy. Shop staff can point to the cooler while staying at their post. Service can happen without moving display tables or working through the checkout queue.
Give the overflow setup one job
A compact overflow unit does not have to imitate a cafe or carry a full convenience-store assortment. Its job is narrower: offer a practical grab-and-go option near the exit side of the visit.
Start with the format the location can support. A refrigerated cooler fits cold drinks and chilled items. A different vending format may make more sense when the demand is mainly dry snacks. The right answer depends on the room, expected use, and service route.
Keep the opening assortment disciplined, then use purchase and inventory data to refine it. Gift shop requests can inform the mix, but they should not become a manual buying list for museum staff.
Match the assortment to the visitor moment
The shop edge serves a different moment than a cafe or dining area. People may be finishing a visit, waiting for the rest of their group, or heading toward parking and transit. Products should suit that short handoff rather than ask visitors to settle in for a full meal.
Start with drinks that close securely and packaged items that are easy to carry. If chilled food belongs in the plan, use compact portions that fit the expected visit pattern. A large assortment is not automatically a useful one. Too many overlapping choices can make the cooler harder to read and create more slow-moving inventory.
The opening mix should also reflect the room around it. A unit beside a family gallery may see different demand than one near an evening-event exit. That does not require a separate operating system for every program. It requires a clear starting mix and a review cycle based on actual purchases.
Keep museum merchandise out of the cooler. The separation should be obvious to visitors and staff: the museum store handles retail, while the self-service unit carries a narrow refreshment offer. Firm boundaries make questions easier to route and prevent the cooler from becoming an extension of the checkout counter.
Plan service around museum traffic
Restocking is part of the placement decision. A cooler may fit physically and still create a bad service route if carts have to cross a checkout line, block a gallery threshold, or move through the busiest visitor period.
Map the route from the service entrance or loading area to the proposed location. Check door widths and turns. Account for elevators and temporary exhibit furniture. Then choose a restocking window that avoids the shop’s heaviest traffic. The exact schedule can change with demand, but the route should work without improvisation.
Waste and cleanup belong in the same review. Place appropriate trash and recycling nearby without narrowing the visitor path. Decide who receives an equipment or payment question and how that issue reaches the operator. Museum staff should have a simple escalation path, not a troubleshooting manual.
This planning protects both sides of the setup. Visitors get a dependable option. The museum avoids adding hidden work for retail, visitor-services, and facilities teams.
Use a simple site test
Before approving the location, answer three questions:
- Can visitors approach and use the cooler without crowding the shop route?
- Can the operator restock it without disrupting displays or checkout?
- Can retail employees stay out of inventory, payment, and equipment work?
If one answer is no, the location is not ready. The setup works beside museum retail only when it protects the visitor experience as carefully as it adds food access.
Planning self-service refreshments near museum retail? Tell us about the room and visitor route.